Click for large image

1_Team_Huddle_prior_to_kick_off.jpg

1 Team Huddle prior to kick off.jpg

Click for large image

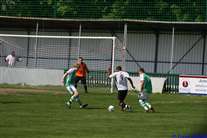
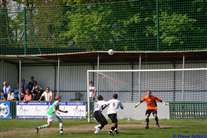
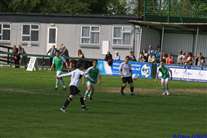
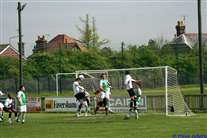
2_Straight_from_the_kick_off_the_Darts_attack.......jpg

2 Straight from the kick off the Darts attack.......jpg

Click for large image

3_...and_go_oh_so_close.jpg

3 ...and go oh so close.jpg

Click for large image

4_..the_ball_comes_back_across_the_area....jpg

4 ..the ball comes back across the area....jpg

Click for large image

5_..but_is_cleared.jpg

5 ..but is cleared.jpg

Click for large image

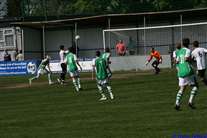
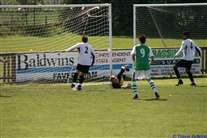
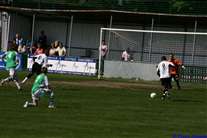
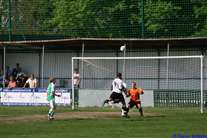
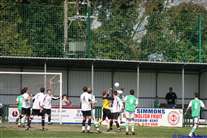
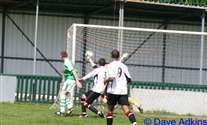
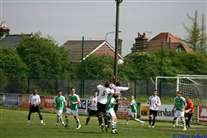
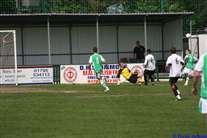
6_Danger_for_the_Darts_as_the_keeper_misses_the_ball......jpg

6 Danger for the Darts as the keeper misses the ball......jpg

Click for large image

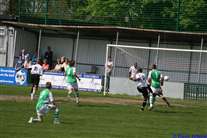
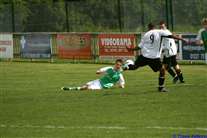
7_but_the_No2_s_timely_boot_takes_away_from_the_Ashford_player.jpg

7 but the No2's timely boot takes away from the Ashford player.jpg

Click for large image

8_The_Captain_in_full_flight.jpg

8 The Captain in full flight.jpg

Click for large image

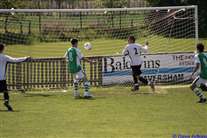
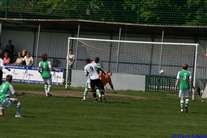
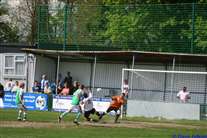
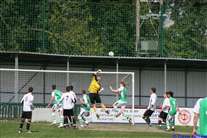
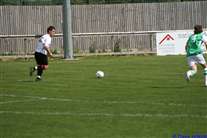
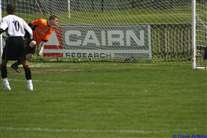
9_A_shot_from_the_edge_of_the_area_but_the_keeper_s_there.jpg

9 A shot from the edge of the area but the keeper's there.jpg

Click for large image

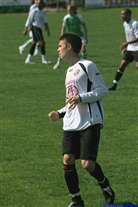
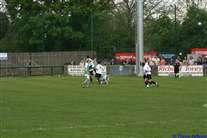
10_JJ_brings_the_ball_past_2_Ashford_defenders.jpg

10 JJ brings the ball past 2 Ashford defenders.jpg

Click for large image

11_...steadies_himself......jpg

11 ...steadies himself......jpg

Click for large image

12_...and_shoots.....jpg

12 ...and shoots.....jpg

Click for large image

13_...and_that_s_1-0_Darts.jpg

13 ...and that's 1-0 Darts.jpg

Click for large image

14_Time_to_celebrate.jpg

14 Time to celebrate.jpg

Click for large image

15_Another_chance_for_the_Darts......jpg

15 Another chance for the Darts......jpg

Click for large image

16_...but_it_s_over_the_bar.jpg

16 ...but it's over the bar.jpg

Click for large image

17_The_keeper_denies_the_darts_no11.jpg

17 The keeper denies the darts no11.jpg

Click for large image

18_Adam_Molloy.jpg

18 Adam Molloy.jpg

Click for large image

19_Waiting_for_the_ball.jpg

19 Waiting for the ball.jpg

Click for large image

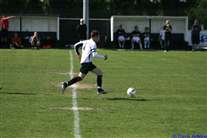
20_The_captain_tries_a_shot_on_the_volley_but_the_keeper_is_ready.jpg

20 The captain tries a shot on the volley but the keeper is ready.jpg

Click for large image

21_A_proud_Dad_watching.jpg

21 A proud Dad watching.jpg

Click for large image

22_2nd_Half_and_it_s_Keepers_ball.jpg

22 2nd Half and it's Keepers ball.jpg

Click for large image

23_A_good_punch.jpg

23 A good punch.jpg

Click for large image

24_Adam_cannot_get_there...1-1.jpg

24 Adam cannot get there...1-1.jpg

Click for large image

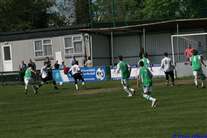
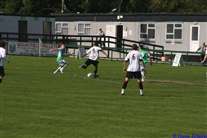
25_Down_to_10_men_but_the_Darts_still_keep_attacking.jpg

25 Down to 10 men but the Darts still keep attacking.jpg

Click for large image

26_A_man_down_and_still_the_Darts_attack.......jpg

26 A man down and still the Darts attack.......jpg

Click for large image

27_......he_lines_it_up......jpg

27 ......he lines it up......jpg

Click for large image

28_...and_that_s_2-1_Darts.jpg

28 ...and that's 2-1 Darts.jpg

Click for large image

29_The_goal_celebration.jpg

29 The goal celebration.jpg

Click for large image

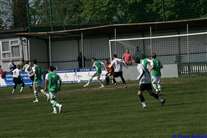
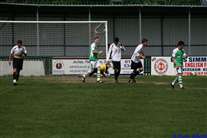
30_2-1_up_and_still_the_Darts_kept_the_pressure_on.jpg

30 2-1 up and still the Darts kept the pressure on.jpg

Click for large image

31_Adam_collects_low_down.jpg

31 Adam collects low down.jpg

Click for large image

32_Another_fine_save_by_Adam.jpg

32 Another fine save by Adam.jpg

Click for large image

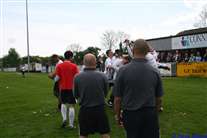
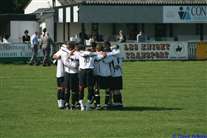
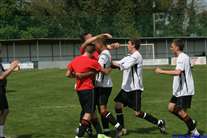
33_The_final_whistle_and_the_players_celebrate.jpg

33 The final whistle and the players celebrate.jpg

Click for large image

34_As_does_the_management.jpg

34 As does the management.jpg

Click for large image

35_Is_that_champagne.jpg

35 Is that champagne.jpg

Click for large image

36_And_there_s_the_cup.jpg

36 And there's the cup.jpg

Click for large image

37_Champions.jpg

37 Champions.jpg

Click for large image

38_Champagne.jpg

38 Champagne.jpg

Click for large image

39_Champagne_2.jpg

39 Champagne 2.jpg

Click for large image

40_Andy_and_Cen_look_on_with_Pride.jpg

40 Andy and Cen look on with Pride.jpg

Click for large image

41_Team_pic_with_cup.jpg

41 Team pic with cup.jpg

Click for large image

42_Team_pic_with_cup_2.jpg

42 Team pic with cup 2.jpg

Click for large image

43_Team_pic_with_Andy_and_Cen.jpg

43 Team pic with Andy and Cen.jpg

Click for large image

44_Team_pic_with_Andy_and_Cen_2.jpg

44 Team pic with Andy and Cen 2.jpg

Click for large image

45_We_did_it_Boss.jpg

45 We did it Boss.jpg